Chat App in React
The High Level Low Down
This is a webapp created when learning about React. It was a twist on a project that I had to do for the Software Developer Program at Bloc. The original project for the program required a different framework, but I wanted to learn some React, so I went ahead and created a React version.
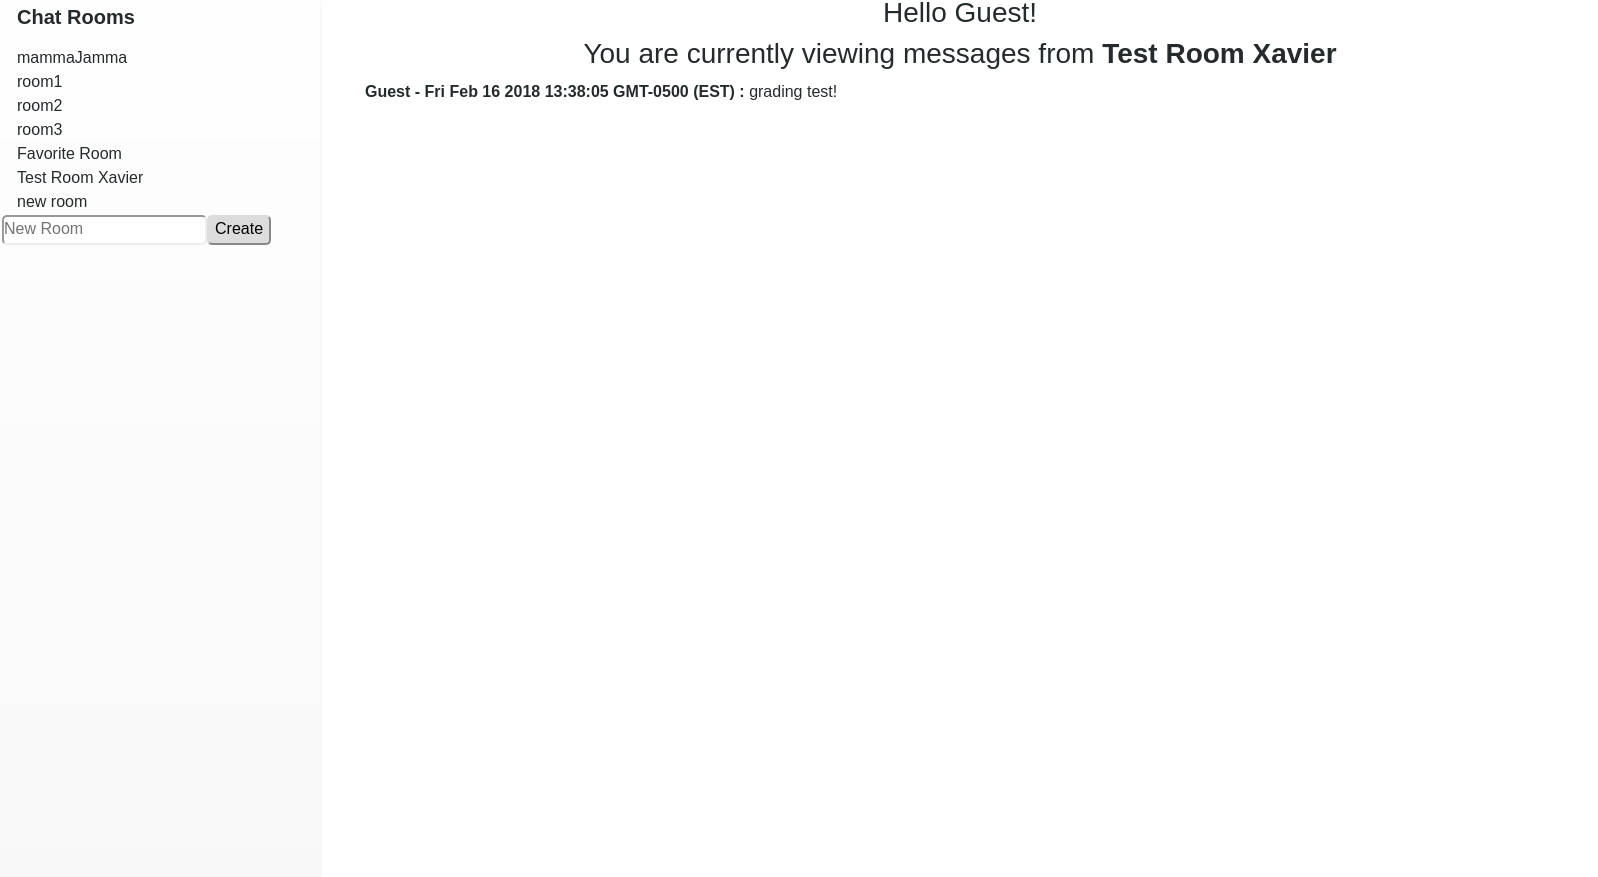
The application allows you to register your name based off of a google account. Once registered, you can create a room, post messages in a room, and interact with other people that are also in these rooms.
On the backend, it uses google firebase in storing the room and message information. Of course, as mentioned earlier, the framework used to create this website is React.
But enough about the high level technicals. I wanted to share a bit about the process of this project, and the considerations and learnings that were taken into account in it’s creation.
React Design Perspective
I tried to keep it as simple as possible, so when I went about creating this application I tried to use only the create-react-app package available on npm, adding only the bootstrap library to it for some visual polish.
In terms of the structure, I wanted the base of the Web app to be App.js file. This way, I could keep the currentUser, currentRoomName, and currentRoom as states in this location. It seemed easier to pass any changes from this location down to other components, since this was the highest level I was modifying in the Web App.
These variables in the App component’s state would need to be modified as user input was made. This was achieved by creating some callbacks.
class App extends Component {
  ...
  currentRoomCallback = (roomListCurrentRoom, roomListCurrentRoomName) => {
    this.setState({
      currentRoom: roomListCurrentRoom,
      currentRoomName: roomListCurrentRoomName
    });
  };

  currentUserCallback = (userCurrentUser) => {
    this.setState({ currentUser: userCurrentUser });
  };
  ...
}
These callbacks are pretty straightforward and simple. Their main reason of being is to enable other components to pass currentUser, currentRoomName, and currentRoom states back to the main App Component. Using the arrow function, any changes passed through these functions facilitate downstream components to effect changes to upstream App states.
The callbacks are passed to other components as props in the render function of the App component, as is shown being passed to the RoomList Component below.
render() {
  ...
  <RoomList firebase={firebase} callbackCurrentRoom={this.currentRoomCallback}/>
  ...
}
The callbackCurrentRoom can then be invoked within the RoomList Component as a prop. This can be seen when it is invoked in the clickRoom function as shown below.
clickRoom(roomId, roomName) {
    this.setState({ currentRoom: roomId, currentRoomName: roomName });
    this.props.callbackCurrentRoom(roomId, roomName);
}
When clickRoom is executed through a user triggered onClick event, it triggers the changes and updates values within the state of the upstream App component.
In theory, all this information passing of state values via callbacks being sent through props downstream of the main App component is all well and good. But one thing that I had to learn was exactly when this information is triggered in React.
One thing I expected was that upstream component changes pushed to downstream components via a prop would trigger a render in the downstream component the same way a state change or update would trigger a render.
It was a bit confusing to not see these newly created props be updated and not show up on the DOM, which lead to a whole lot of troubleshooting. The troubleshooting process surfaced that indeed, the props were being refreshed, since I was able to view them change or update values on the browser’s JS console output. However, the new prop values which would affect the DOM’s visual, was not being changed.
After some StackOverflow and heavy googling research, my solution to remedy this seemingly poor timing of “new” props was to add a react method called componentWillReceiveProps. What this method listens to is that if props have changed, this method will be triggered and the code written inside will be run. So, for example, an upstream triggered state change due to switching rooms triggers componentWillReceiveProps, and the following code is run.
  componentWillReceiveProps(nextProp) {
    // here we're making sure that the refreshed prop
    // has actually changed.
    if(this.state.currentRoom !== nextProp.currentRoom) {

      if(this.state.query) {
        this.state.query.off('child_added');
      }

      var query = this.messageRef.orderByChild('roomId').equalTo(nextProp.currentRoom);
      // query.on takes action on the query run above.
      query.on('child_added', snapshot => {
        const message = snapshot.val();
        message.key = snapshot.key;
        this.setState({
          currentRoom: nextProp.currentRoom,
          currentRoomName: nextProp.currentRoomName,
          messages: this.state.messages.concat(message),
          new_message: '',
          query: query
        })
      });
      // create blank message slate. This actually happens
      // quicker than the query.on() command above.
      this.setState({
        currentRoom: nextProp.currentRoom,
        currentRoomName: nextProp.currentRoomName,
        messages: [],
        query: query
      });

    } else if (this.state.currentUser !== nextProp.currentUser) {
      // updates the state given that the
      // user has changed
      this.setState({
        currentUser: nextProp.currentUser,
      });
      return
    }
  }
The new props will be updating the MessageList’s state, and the updated state via setState will trigger a render() within this component. This will then trigger a message refresh, or a change in the user name at the top of the messages.
Aaaaand Firebase
This walkthrough wouldn’t be complete without me talking a bit about firebase and it’s functions that I used within this web app.
It really is quite straightforward after creating a database on the google service.
At the beginning of the App component I declare some config information that would be necessary to access the correct location of the database within firebase. The information has the following structure, and is outlined on creation of the database.
var config = {
  apiKey: "xxxx",
  authDomain: "yyyy",
  databaseURL: "zzzz",
  projectId: "iiii",
  storageBucket: "jjjj",
  messagingSenderId: "qqqq"
};

firebase.initializeApp(config);
Once firebase is correctly configured, the database can be manipulated via creating a reference to the database and then accessing the data via queries.
The reference to the database can be created within a Component’s constructor, for example below is a snippet of this reference being created in the MessageList’s component constructor.
constructor(props) {
  super(props);
  // message database reference is created below
  this.messageRef = this.props.firebase.database().ref('messages');
  this.state = {
    ...
  };
}
Then, later on in the code, a query can be run on messageRef. Below is an example of this done during the componentDidMount() method.
componentDidMount() {
    var query = this.messageRef.orderByChild('roomId').equalTo(this.state.currentRoom);

    query.on('child_added', snapshot => {
      const message = snapshot.val();
      message.key = snapshot.key;

      this.setState({
        messages: this.state.messages.concat(message),
        new_message: '',
        query: query
      })
    });

    if (this.messagesEnd) {
      this.scrollToBottom();
    }
  }
Honorable ‘Server-side Technology and Cloud Compute Stuff’ Mention
This application is hosted on a Debian Stable linode instance and is using NGINX as it’s webserver. It can be accessed at this location: https://www.xavierjortiz.com/chatroom/
The Github source: https://github.com/Xavier-J-Ortiz/react-chatroom-firebase